All posts by Max Chinni

Tolino Shine 3

Tolino Shine 3: use adb as root

These are the steps I took to get:

$ adb shell
root@ntx_6sl:/ # id
uid=0(root) gid=0(root) groups=1003(graphics),1004(input),1007(log),1009(mount),1011(adb),1015(sdcard_rw),1028(sdcard_r),3001(net_bt_admin),3002(net_bt),3003(inet),3006(net_bw_stats)

Disclaimer

I am not responsible if you brick / ruin your device in any way. Basic computer skills required. Proceed with caution. I cannot be held responsible if anything goes wrong.

Prerequisites

  1. We need a patched adbd which runs as root in /tmp/adbd.patched, so follow these steps.

  2. I’m working on Ubuntu 21.10 so I’ve to install this package

    sudo apt install abootimg
    
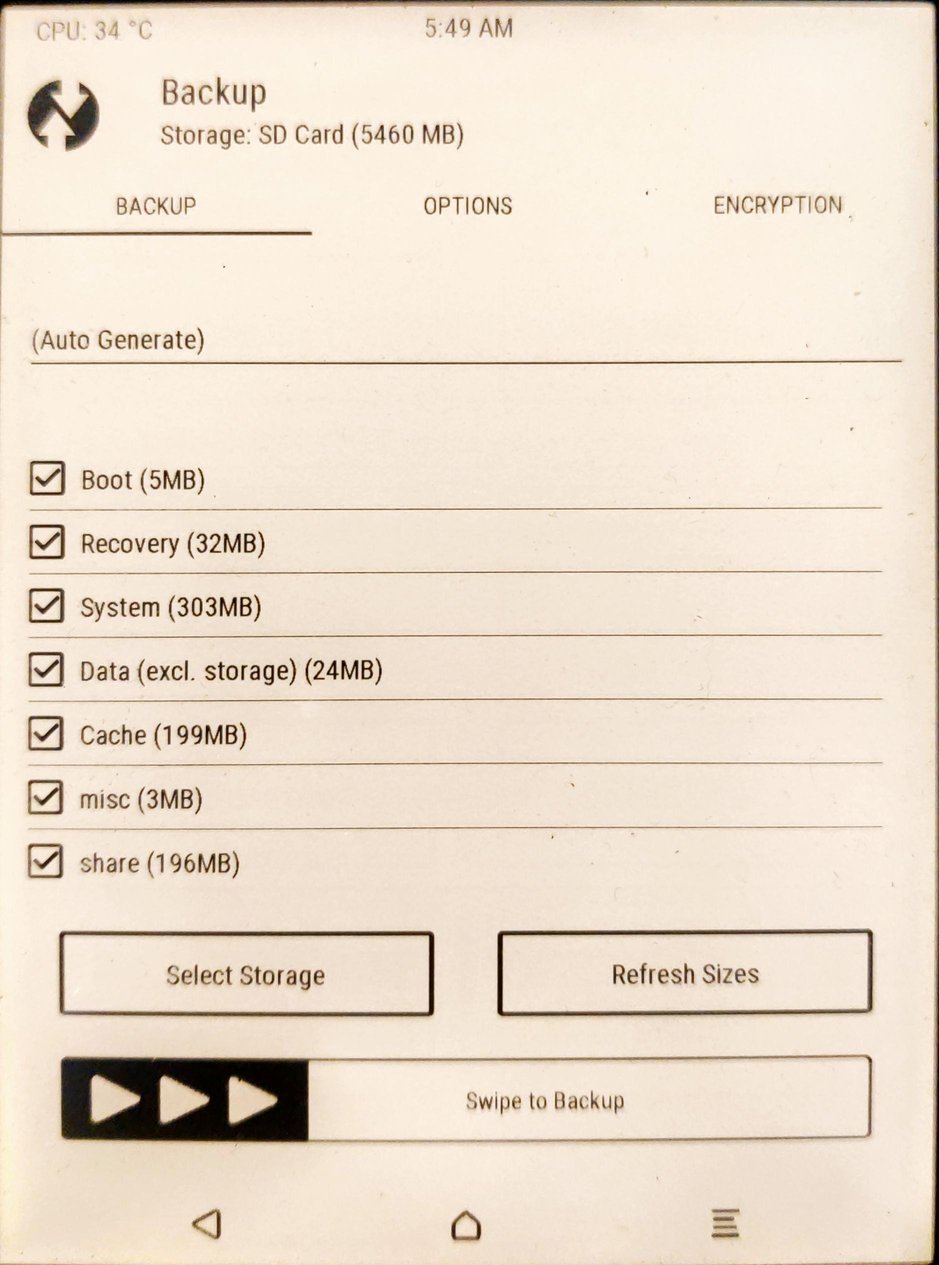
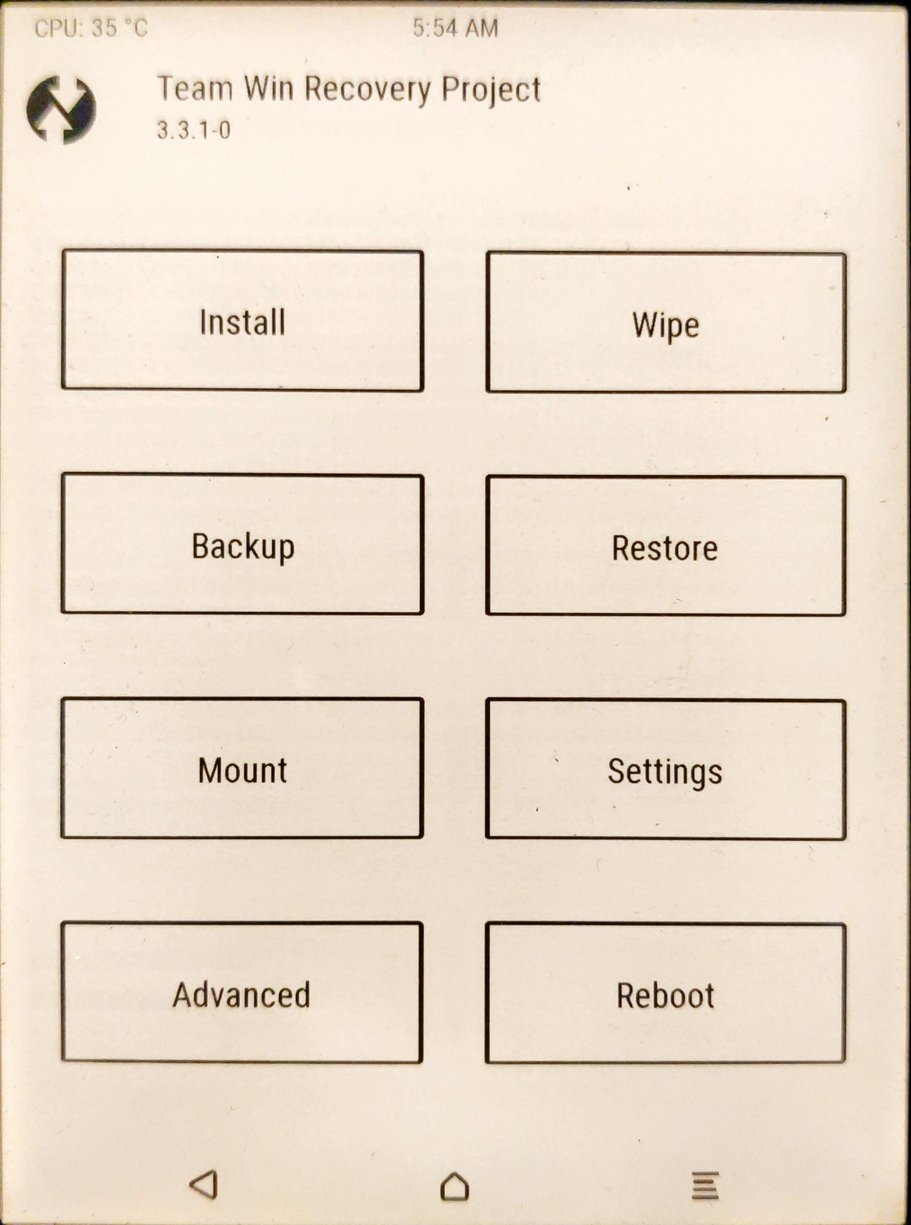
  3. It could be a good idea to have a full backup.

Procedure

  1. download the right version of your update (for me it’s currently 14.1.0)

    wget https://download.pageplace.de/ereader/14.1.0/alldevices/update.zip
    

    (as a sidenote, you can find the latest tolino update on the Tolino website)

  2. extract boot.img

    unzip update.zip boot.img
    
  3. unpack boot.img (we need the initial ramdisk initrd.img)

    abootimg -x boot.img
    
  4. extract the ramdisk in a directory

    mkdir ramdisk
    zcat initrd.img | ( cd ramdisk/ && cpio -imd )
    
  5. modify the ramdisk to enable debug mode, disable secure modes, enable mtp and adb

    cd ramdisk/
    sed -i 's:^ro.secure=1$:ro.secure=0:' default.prop
    sed -i 's:^ro.debuggable=.*$:ro.debuggable=1:' default.prop
    sed -i 's:^persist.sys.usb.config=mass_storage$:persist.sys.usb.config=mtp,adb:' default.prop
    sed -i 's:setprop ro.adb.secure 1:setprop ro.adb.secure 0:' init.rc
    
  6. replace adbd with a patched one which runs with root privileges (let’s suppose it’s in /tmp/adbd.patched, see here)

    cat /tmp/adbd.patched > sbin/adbd
    
  7. recreate the initrd.img

    # we're still working in ramdisk/ directory
    find . ! -name . | LC_ALL="C" sort | cpio -o -H newc -R +0:+0 | gzip -c > ../initrd.img
    cd ..
    
  8. replace the old initrd.img inside boot.img

    abootimg -u boot.img -r initrd.img
    
  9. safely temporarily test the new boot.img, type on the pc

    fastboot boot boot.img
    
  10. reboot Tolino in fastboot mode, this will temporarily boot the new boot.img

  11. test on the pc if adb is running in privileged mode, you should see

    $ adb shell
    root@ntx_6sl:/ # id
    uid=0(root) gid=0(root) groups=1003(graphics),1004(input),1007(log),1009(mount),1011(adb),1015(sdcard_rw),1028(sdcard_r),3001(net_bt_admin),3002(net_bt),3003(inet),3006(net_bw_stats)
    
  12. permanently flash the new boot.img, type on the pc

    fastboot flash boot boot.img
    
  13. reboot Tolino in fastboot mode and you shoud see

    $ fastboot flash boot boot.img
    < waiting for any device >
    Sending 'boot' (4376 KB)                           OKAY [  0.146s]
    Writing 'boot'                                     OKAY [  0.437s]
    Finished. Total time: 0.601s
    
  14. after flashing, reboot

    fastboot reboot
    
tolino backup all

Tolino Shine 3: take a full backup

References

Disclaimer

I am not responsible if you brick / ruin your device in any way. Basic computer skills required. Proceed with caution. I cannot be held responsible if anything goes wrong.

Prerequisites

I’m working on Ubuntu 21.10.

sudo apt install adb

Procedure

  1. temporarily boot into TWRP as described here
  2. choose “Backup”
  3. choose “Select Storage”
  4. “SD Card” and “OK”
  5. mark all tolino backup all
  6. swipe to start the backup procedure

  7. copy the backup on your PC

    adb pull /sdcard1/TWRP
    
Tolino Shine 3

Tolino Shine 3: TWRP without modifications

References

Disclaimer

I am not responsible if you brick / ruin your device in any way. Basic computer skills required. Proceed with caution. I cannot be held responsible if anything goes wrong.

Prerequisites

I’m working on Ubuntu 21.10.

sudo apt install fastboot

Procedure

  1. download TWRP built bu Ryogo-Z https://github.com/Ryogo-Z/tolino_shine3_twrp/releases/download/3.3.1/twrp.img
  2. power off Tolino
  3. on the pc type

    fastboot boot twrp.img
    
  4. connect usb cable

  5. keep pushed the button for about 30s

  6. on the pc, you’ll see

    $ fastboot boot twrp.img
    < waiting for any device >
    Sending 'boot.img' (7830 KB)                       OKAY [  0.286s]
    Booting                                            OKAY [  0.003s]
    Finished. Total time: 0.311s
    
  7. on the device, you’ll see

Software install of Espurna on Sonoff Mini

UPDATE starting from firmware 3.5.0 it’s totally different, see http://developers.sonoff.tech/sonoff-diy-mode-api-protocol.html


It’s possible to flash Espurna on the Sonoff Mini using Diy mode via software.

What you need

  • A Sonoff Mini
  • A mobile device capable of creating an Access Point and which can install eWelink app
  • A PC:
    • with Wi-Fi
    • running GNU/Linux (I used Ubuntu 19.10)
    • with a running web server
    • with git installed

Procedure

Here’s the steps I took to do it:

  1. Download and compile Espurna

    $ mkdir ~/project
    $ cd ~/project
    $ git clone https://github.com/xoseperez/espurna
    $ cd espurna/code
    $ pio run -e itead-sonoff-mini
    
  2. Install and configure eWelink app

  3. Update Sonoff Mini firmware (currently the latest version is 3.3.0, I’ve read you need 3.1.0 at least)

  4. Shutdown the device (detach it from mains current)

  5. Enable OTA OTA port
  6. Create an Access Point with your phone. These must be the parameters:
    • SSID: snonffDiy
    • pre shared key (password): 20170618sn
    • band: 2.4 GHz
  7. Boot the device (attach it to mains current)
  8. Wait until it connects to the AP (the blue led double pulses)
  9. Connect the PC to the same Wi-Fi
  10. Search for the Sonoff Mini device on the Wi-Fi network

    $ avahi-browse -t -r _ewelink._tcp
    + wlp1s0 IPv4 eWeLink_10009b8ed6                            _ewelink._tcp        local
    = wlp1s0 IPv4 eWeLink_10009b8ed6                            _ewelink._tcp        local
       hostname = [eWeLink_10009b8ed6.local]
       address = [192.168.43.200]
       port = [8081]
       txt = ["data1={"switch":"off","startup":"off","pulse":"off","pulseWidth":500,"rssi":-29}" "seq=1" "apivers=1" "type=diy_plug" "id=10009b8ed6" "txtvers=1"]
    

    Keep track of the deviceid which is, in my case, 1009b8ed6.

  11. Test if everything works as expected

    $ curl -XPOST --data '{ "deviceid": "10009b8ed6", "data": {} }' http://192.168.43.200:8081/zeroconf/info; echo
    {"seq":2,"error":0,"data":"{\"switch\":\"off\",\"startup\":\"off\",\"pulse\":\"off\",\"pulseWidth\":500,\"ssid\":\"sonoffDiy\",\"otaUnlock\":false}"}
    
  12. Unlock OTA updates

    $ curl -XPOST --data '{ "deviceid": "10009b8ed6", "data": {} }' http://192.168.43.200:8081/zeroconf/ota_unlock; echo
    {"seq":2,"error":0}
    
  13. Put file in a web server

    $ cd ~/public_html
    $ cp ~/project/espurna/code/.pio/build/itead-sonoff-mini/firmware.bin .
    $ chmod a+r firmware.bin
    
  14. Test url

    $ curl -s http://192.168.43.53/~max/firmware.bin --output - | sha256sum
    e9e7d72d2c2a8b25678cab7ded20645c5e37c60459cbe6ba1448ed3a62f72b72
    $ sha256sum ~/public_html/max/firmware.bin
    e9e7d72d2c2a8b25678cab7ded20645c5e37c60459cbe6ba1448ed3a62f72b72  firmware.bin
    

    You will need the sha256sum value in a minute.

  15. Do the OTA, keep attention to use the right deviceid, sha256sum and ip values

    $ curl -XPOST --data '{ "deviceid": "10009b8ed6", "data": { "downloadUrl": "http://192.168.43.53/~max/firmware.bin", "sha256sum": "e9e7d72d2c2a8b25678cab7ded20645c5e37c60459cbe6ba1448ed3a62f72b72" } }' http://192.168.43.200:8081/zeroconf/ota_flash; echo
    {"seq":3,"error":0}
    

Done.

References

Override DNS v5.5.1 released

Changelog from v5.4.1 to v5.5.1.

  • User facing improvements:

    • bugfix: null pointer exception on predefinedDNS singleton
    • toast a message when modifying SSID you’re connected to
    • bugfix start service/enable app Android N
    • added fine location request on O+ to get SSID
    • MainActivity improved
    • bugfix automatic DNS change in Android N
    • Removed Cisco predefined DNS, does not work
    • Added log message when updating SSID list
    • Adaptive icon
    • Added test button when possible
    • Added a dedicated service for Oreo+ versions and a persistent notification (can be switched off)
    • Added “always use iptables” option for N+ Android versions
    • Improved logging: added autoscroll, timestamp, failure reasons, live messages, persistance
    • Fixed rotation problems, ProgressBar, layout for small screens, buttons layout
    • Improved: notifications, app load time, root detection
    • removed Showcaseview library
  • Internal improvements:

    • Better LiveMessage dispatching
    • enable NetworkMonitorService for N+
    • use my setools-android fork as submodule
    • Makefile: use full path for adb
    • Cleanup iptables rules switching to unsupported network
    • Preparing for my DNS tester service
    • Fixed: SELinux detection, Magisk detection, restore button, network disconnections detection
    • Improved: Wi-Fi SSID detection, code style
    • Reduced preferences size, source code, compilation time
    • Simplified mantainability with command templates
    • Disabled StrictMode in release versions
    • Introduced: Gson, ButterKnife