References
Disclaimer
I am not responsible if you brick / ruin your device in any way. Basic computer skills required. Proceed with caution. I cannot be held responsible if anything goes wrong.
Prerequisites
I’m working on Ubuntu 21.10.
sudo apt install adb
Procedure
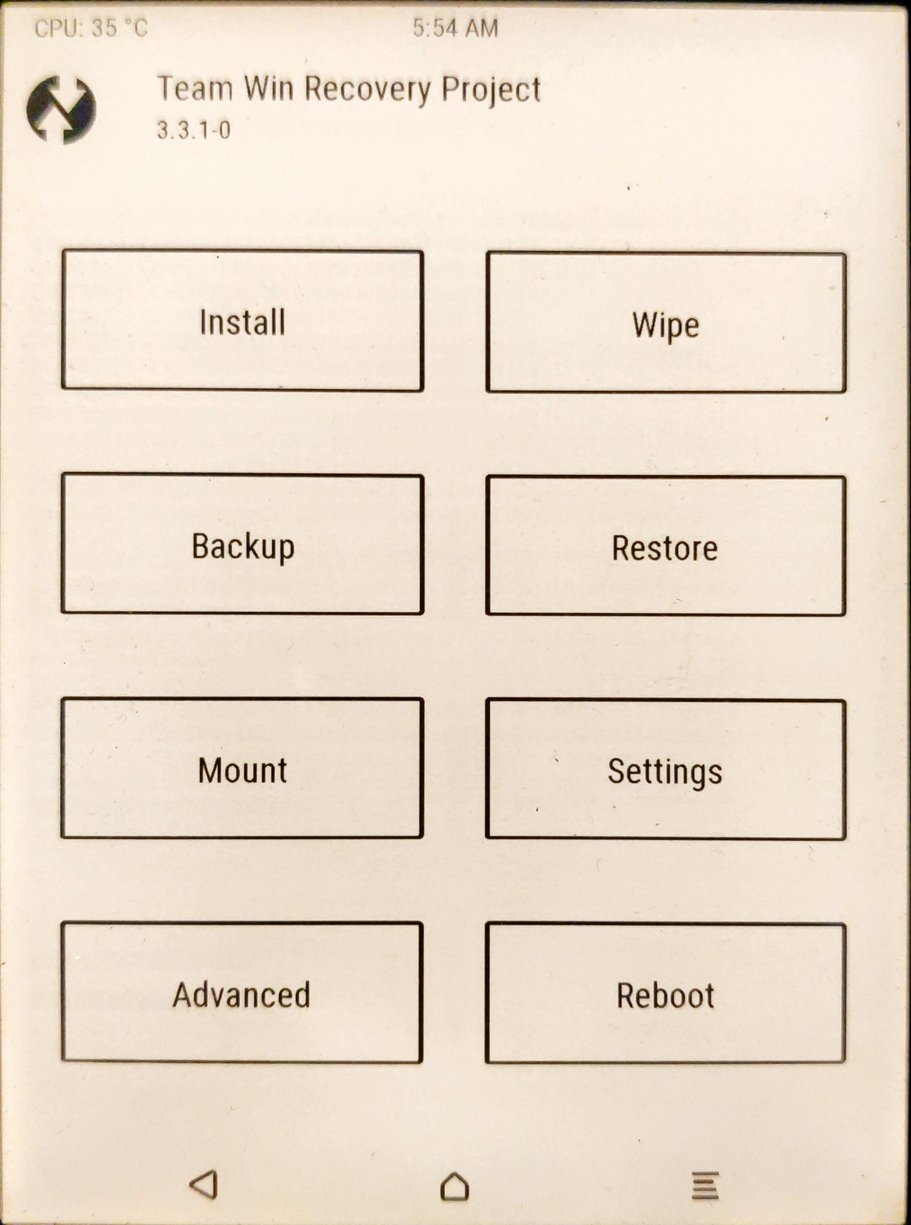
- temporarily boot into TWRP as described here
- choose “Backup”
- choose “Select Storage”
- “SD Card” and “OK”
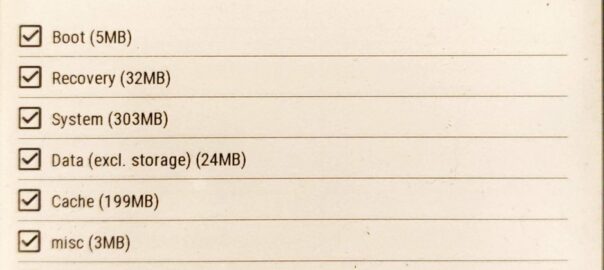
- mark all
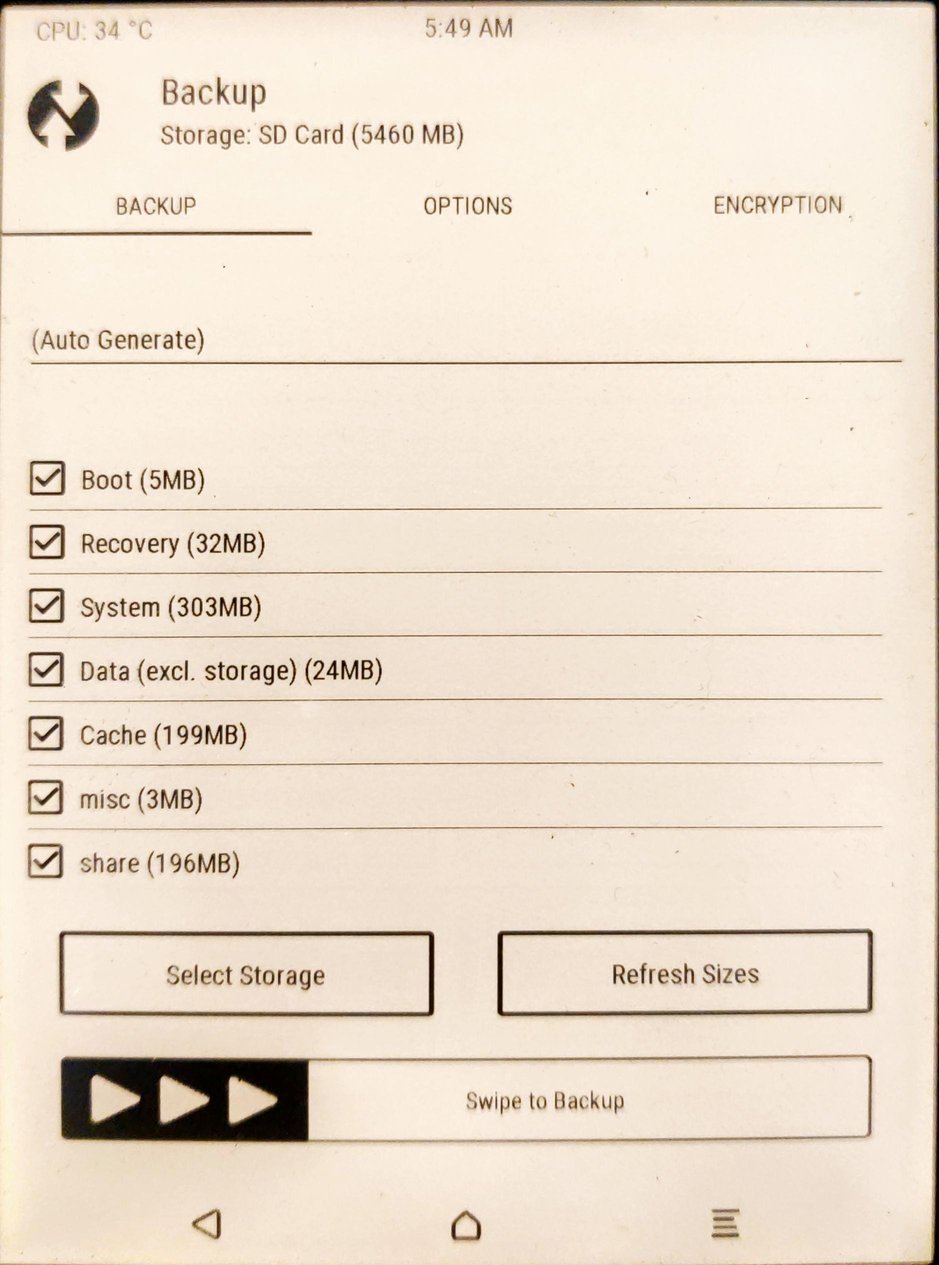
-
swipe to start the backup procedure
-
copy the backup on your PC
adb pull /sdcard1/TWRP