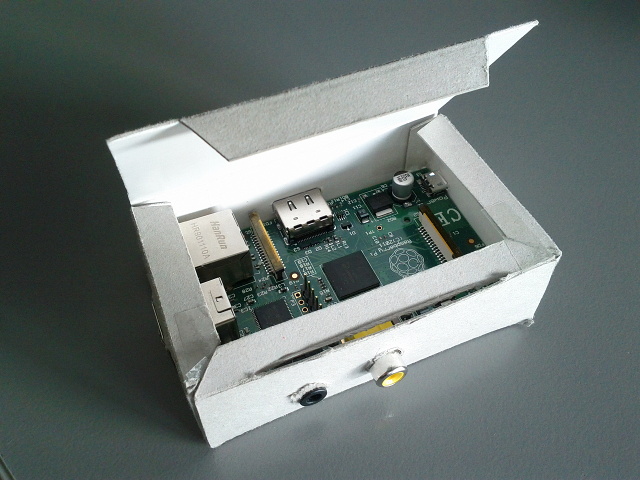
I protect my Raspberry Pi with a self made carton case.
The model I followed can be found here, but i modded it a bit to keep it easly closed.
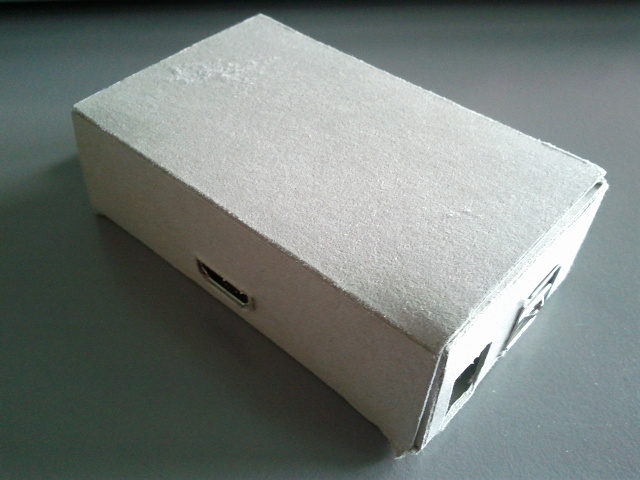
This is my final result.

I protect my Raspberry Pi with a self made carton case.
The model I followed can be found here, but i modded it a bit to keep it easly closed.
This is my final result.
When you download a Raspmc (Raspberry Pi Media Center) image it’s a .zip file.
If you want to check the content of the file you must find a way to mount the image.
$ unzip installer.zip$ file installer.img
installer.img: x86 boot sector; partition 1: ID=0xc, starthead 0, startsector 2048, 131072 sectors; partition 2: ID=0x83, starthead 3, startsector 133120, 251904 sectors, code offset 0xb8$ mkdir /tmp/mnt-installer$ sfdisk -uS -l installer.img
Disk installer.img: cannot get geometry
Disk installer.img: 24 cylinders, 255 heads, 63 sectors/track
Warning: The partition table looks like it was made
for C/H/S=*/4/32 (instead of 24/255/63).
For this listing I'll assume that geometry.
Units = sectors of 512 bytes, counting from 0
Device Boot Start End #sectors Id System
installer.img1 2048 133119 131072 c W95 FAT32 (LBA)
installer.img2 133120 385023 251904 83 Linux
installer.img3 0 - 0 0 Empty
installer.img4 0 - 0 0 Empty
$ sudo mount -o loop,offset=$(( 512 * 133120)) installer.img /tmp/mnt-installer$ ls -lAtr /tmp/mnt-installer
total 96
drwxr-xr-x 2 root root 4096 Jul 21 2010 selinux
drwxr-xr-x 2 root root 4096 Mar 27 23:44 sys
drwxr-xr-x 2 root root 4096 May 7 17:28 proc
drwxr-xr-x 2 root root 4096 May 7 17:28 mnt
drwxr-xr-x 2 root root 4096 May 7 17:28 home
drwxr-xr-x 2 root root 4096 May 7 17:28 boot
drwx------ 2 root root 16384 Jun 18 02:26 lost+found
drwx------ 2 root root 4096 Jun 18 02:27 root
drwxr-xr-x 2 root root 4096 Jun 18 02:27 srv
drwxr-xr-x 2 root root 4096 Jun 18 02:27 opt
drwxr-xr-x 2 root root 4096 Jun 18 02:27 media
drwxr-xr-x 13 root root 4096 Jun 18 02:27 var
drwxr-xr-x 10 root root 4096 Jun 18 02:27 usr
drwxrwxrwt 2 root root 4096 Jun 18 02:27 tmp
drwxr-xr-x 2 root root 4096 Jun 18 02:31 sbin
drwxr-xr-x 9 root root 12288 Jun 18 02:31 lib
drwxr-xr-x 43 root root 4096 Jun 18 02:31 etc
drwxr-xr-x 2 root root 4096 Jun 18 02:31 bin
drwxr-xr-x 4 root root 4096 Jun 18 02:31 dev
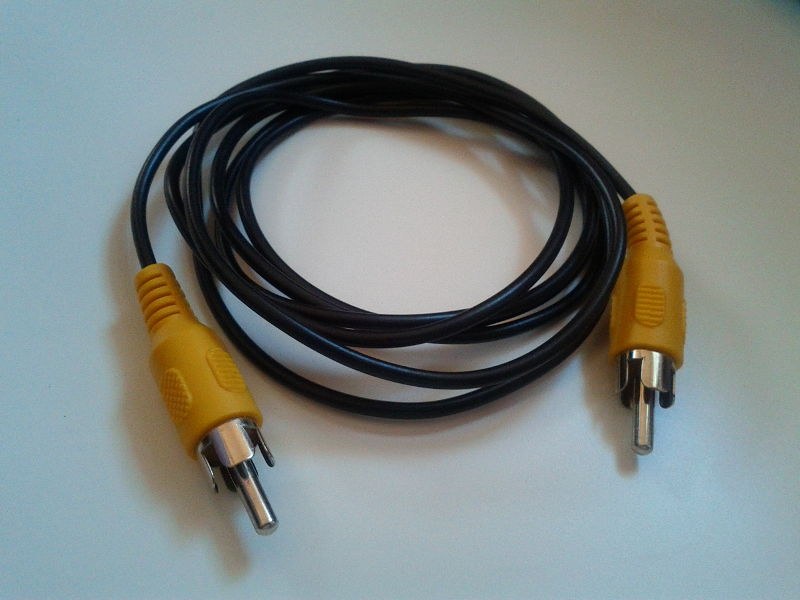
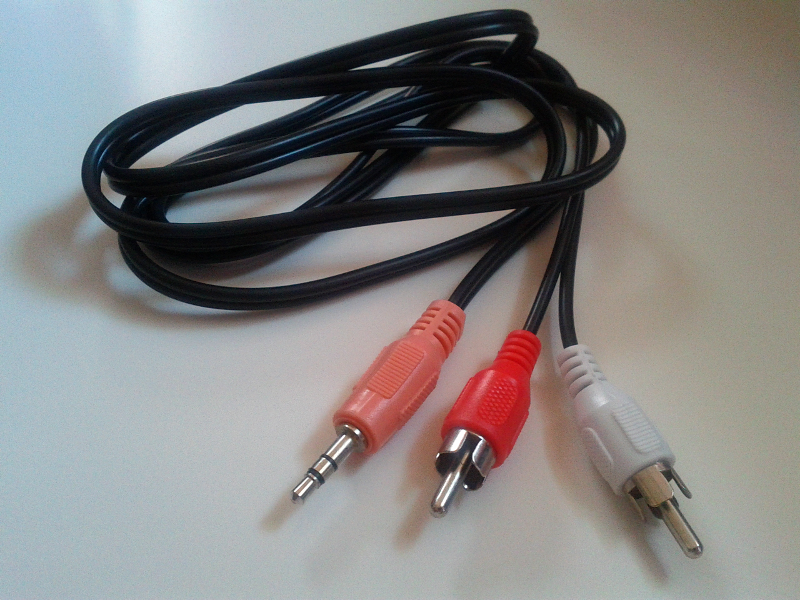
$ sudo umount /tmp/mnt-installerMaybe you don’t know, but you can use an old CRT TV as a monitor for the Raspberry Pi.
Find a SCART and some cables for audio and video and you are done.
You need:
Than you have to connect the cables as you can easily imagine.
The only thing to keep in mind is to set the SCART adapter to “INPUT”:

The trick does not need any additional work if you use a NTSC TV.
If you are in Europe and you use PAL systems (like me), you must create a config file in the /boot/ path of the Raspberry Pi while it’s running and configure the appropriate parameter.
vi /boot/config.txt

# Set stdv mode to PAL (as used in Europe)

sdtv_mode=2

#

overscan_left=20

overscan_right=20

overscan_top=20

overscan_bottom=20
Overscan parameters allow you to set a proper margin if you see that the image is not centered.
The end.
Just to remember how to start Xfce on Debian Raspberry Pi:
pi@raspberrypi:~$ sudo /etc/init.d/gdm start
That’s an extremely easy tip.
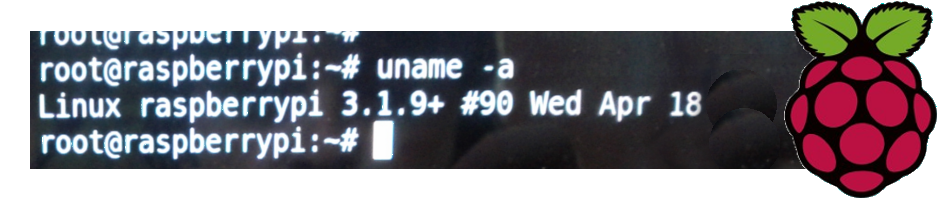
I own a Raspberry Pi, but I haven’t a HDMI enabled TV, so I thought I couldn’t see any output from the system.
Stock Debian image doesn’t start ssh daemon on boot, but as you can see on the SD card, there’s a file named “boot_enable_ssh.rc”.
You should rename that file in “boot.rc”, and start everything. That’s all.
Now you must know that if you haven’t a HDMI enabled TV or monitor, you can still use Video OUT and an old CRT TV to see what’s going on. See my future tip.
By continuing to use the site, you agree to the use of cookies. more information
The cookie settings on this website are set to "allow cookies" to give you the best browsing experience possible. If you continue to use this website without changing your cookie settings or you click "Accept" below then you are consenting to this.