Basic Debian setup for Raspberry Pi

It took 3 weeks, but finally I’ve received my Raspberry Pi directly from RS.

IMHO the ideal GNU/Linux distribution for this device is Debian.
Here’s what I did to get a full Debian system.

Prerequisites

Identify SD card

Plug your card reader and take a look to system messages with “dmesg”:
$ dmesg
[22006.536054] usb 1-1: new high-speed USB device number 3 using ehci_hcd
[22006.736355] usb-storage 1-1:1.0: Quirks match for vid 090c pid 6000: 100000
[22006.738687] scsi15 : usb-storage 1-1:1.0
[22007.737879] scsi 15:0:0:0: Direct-Access Generic 6000 PQ: 0 ANSI: 0 CCS
[22007.739762] sd 15:0:0:0: Attached scsi generic sg3 type 0
[22007.744742] sd 15:0:0:0: [sdc] 16659456 512-byte logical blocks: (8.52 GB/7.94 GiB)
[22007.745494] sd 15:0:0:0: [sdc] Write Protect is off
[22007.745500] sd 15:0:0:0: [sdc] Mode Sense: 4b 00 00 08
[22007.746235] sd 15:0:0:0: [sdc] No Caching mode page present
[22007.746240] sd 15:0:0:0: [sdc] Assuming drive cache: write through
[22007.750365] sd 15:0:0:0: [sdc] No Caching mode page present
[22007.750372] sd 15:0:0:0: [sdc] Assuming drive cache: write through
[22007.757039] sdc: sdc1 sdc2
[22007.760977] sd 15:0:0:0: [sdc] No Caching mode page present
[22007.760984] sd 15:0:0:0: [sdc] Assuming drive cache: write through
[22007.760989] sd 15:0:0:0: [sdc] Attached SCSI removable disk

In my case the SD is /dev/sdc.

Start write procedure

Please note than you will lose all SD content.
$ dd bs=1M if=~/Downloads/debian6-19-04-2012/debian6-19-04-2012.img of=/dev/sdc
This procedure took 8 minutes on my pc with my sd card (class 4)
real    7m50.845s
user    0m0.024s
sys     0m25.250s

Be sure to flush all caches
sync
Now you can disconnect your card and you are done.

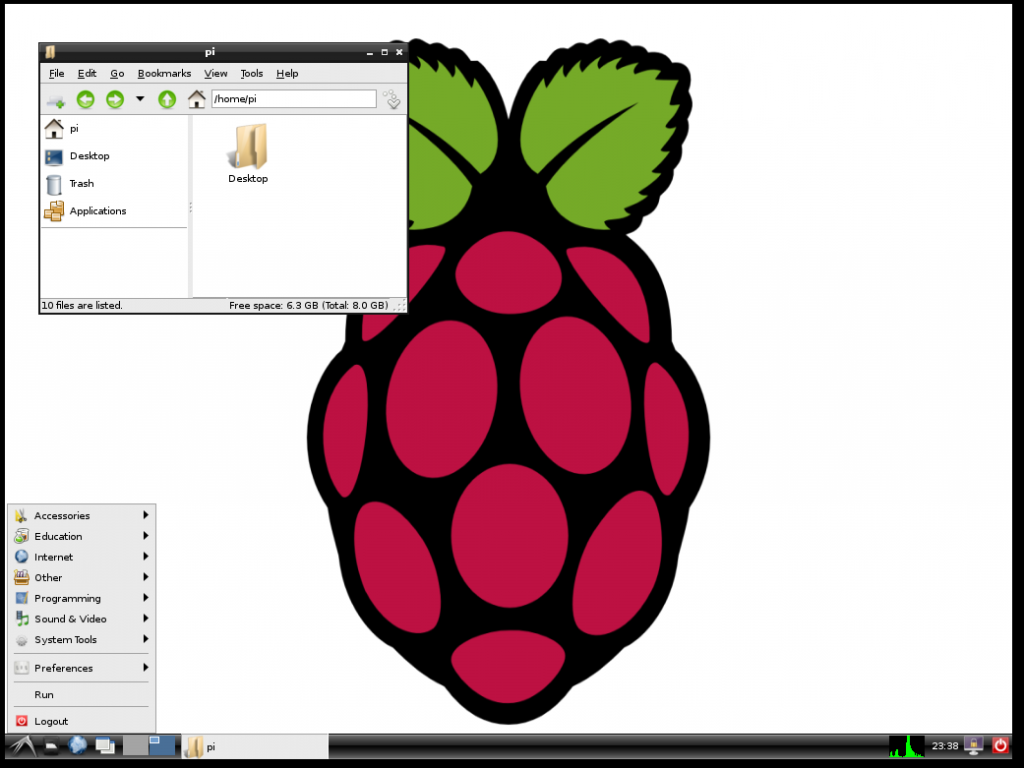
Enjoy your new distro.

2GB for an entire OS, plus data? Maybe you used a bigger SD card? Stay tuned for my next tip.

Android tip: Launch app through adb shell

Please note than I’m using CyanogenMod 7.

First of all you have to know the Intent and Activity of your interest.

The best way to find them I found is to use logcat.

Open a shell

adb shell

Start logcat filtering the needed rows:

logcat | grep 'Starting:'

Start the app you want to launch later in the standard way (use your phone launcher icon).

Take a look to the lines which come from logcat (i.e. launching Shazam):

I/ActivityManager( 205): Starting: Intent { act=android.intent.action.MAIN cat=[android.intent.category.LAUNCHER] flg=0x10000000 pkg=com.shazam.encore.androidd cmp=com.shazam.encore.android/com.shazam.android.Splash bnds=[365,244][475,362] } from pid 305 I/ActivityManager( 205): Starting: Intent { act=android.intent.action.VIEW flg=0x4000000 cmp=com.shazam.encore.android/com.shazam.android.Home (has extras) } from pid 8096

Now start the app via am:

localhost / # am start -a android.intent.action.MAIN -n com.shazam.encore.android/com.shazam.android.Splash

Look at your phone.

Now you can combine all in one single command:

adb shell 'am start -a android.intent.action.MAIN -n com.shazam.encore.android/com.shazam.android.Splash'

Done.

HowTo: install ClockworkMod Recovery on Xperia X10 Mini Pro using GNU/Linux

Prerequisites

I can show you my situation, I can’t confirm that my guide is usable in different cases:

  • sim unlocked, stock Xperia X10 Mini Pro device rooted (I used my guide)
  • firmware 2.1.1.A.0.6
  • baseband M76XX-TSNCJOLYM-53404015
  • a pc with Ubuntu 11.10 64bit
  • fully functional adb (find more info here)

Disclaimer you must agree before you proceed

Please double check the requirements I wrote before you proceed and remember that:

  • I am not responsible if you brick / ruin your phone in any way;
  • some computer skills are required;
  • do a full backup of your data NOW, it’s not programmed, but you may loose them

Software requirements

CWMInstaller-Linux-v4.zip: download from here or from my mirror.

Do some backup before changing things

On your pc:
adb shell
on the device
# su
# mount -o remount,rw /dev/block/mtdblock0 /system
# cat /system/bin/chargemon > /system/bin/chargemon.original-backup

It’s time to get the job done

The package is done to allow anyone to easily install the whole thing, but I wasn’t able to use the script.
You can see what I did to manually achieve the result.

On your pc
$ unzip CWMInstaller-Linux-v4.zip
$ cd CWMInstaller-Linux/
$ adb push files/ /data/local/tmp

On the phone
$ su
# mount -o remount,rw /dev/block/mtdblock0 /system
# cat /data/local/tmp/recovery.tar > /system/bin/recovery.tar
# cat /data/local/tmp/busybox > /system/bin/busybox
# cat /data/local/tmp/chargemon > /system/bin/chargemon
# chmod 755 /system/bin/recovery.tar
# chmod 755 /system/bin/chargemon
# chmod 755 /system/bin/busybox
# rm /data/local/tmp/chargemon /data/local/tmp/busybox /data/local/tmp/recovery.tar

Done!
# reboot

Test it making a real backup

When booting your phone and when the “Sony Ericsson” letters appear (not the logo), press and release continuously the “back” button.
Once you are in the CW recovery, use the volume keys to navigate upwards / downwards, the “home” or “camera” button to select, the “back” button to go back.

Go to “backup and restore“, “backup” and wait at least 3 minutes (on an empty device).

Conclusions

Now you are ready to install some new ROMs on your device.

References